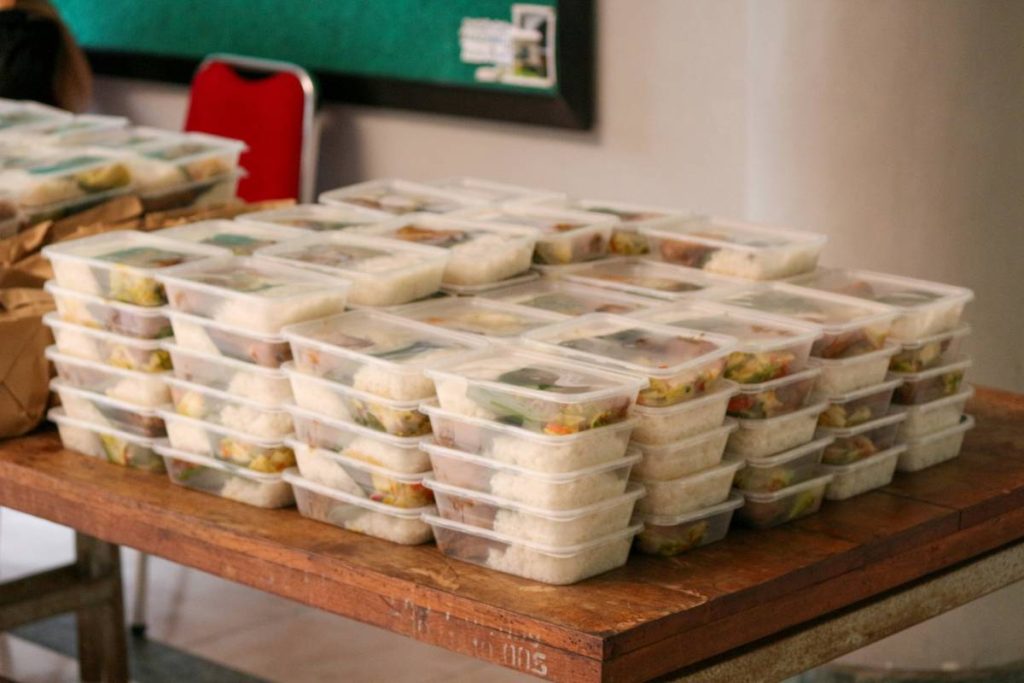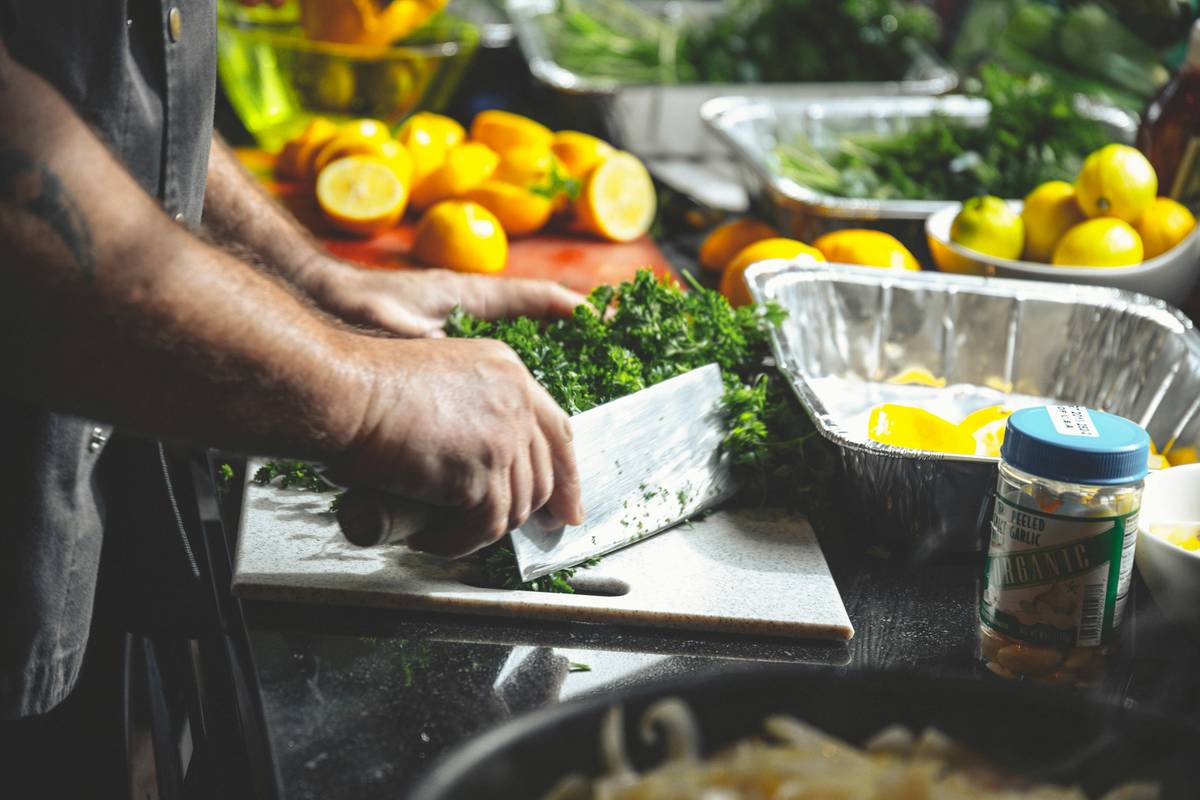
You spend Sunday chopping, cooking, and portioning—only to find soggy rice and lukewarm chicken by Wednesday. Frustrating? Absolutely. The culprit isn’t your recipes or discipline. It’s your gear. Most people skip the single piece that bridges kitchen precision and real-world logistics: a proper meal prep bag tote.
The Core Problem: Why Standard Containers Aren’t Enough
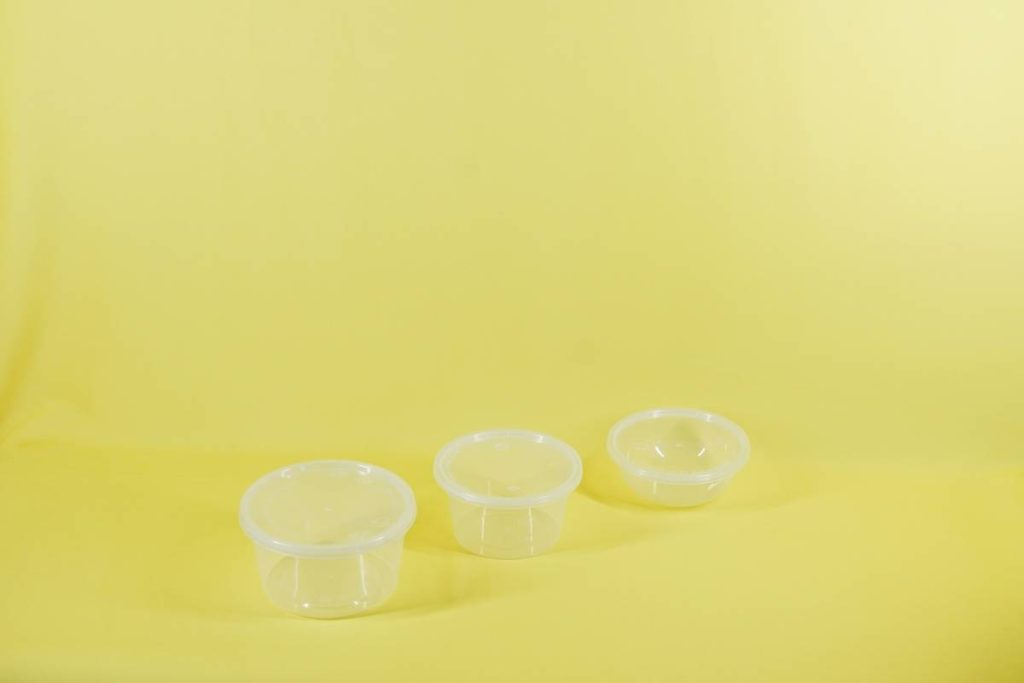
Plastic containers keep food separate—but not safe. Not fresh. Not organized. Throw them loose in a backpack or grocery tote, and you’re gambling with temperature abuse, cross-contamination, and crushed avocado toast dreams.
And don’t get me started on those “insulated” lunch bags from big-box stores. Thin foam walls. Zipper seams that leak cold air like a sieve. They look cute—until 11 a.m., when your salmon hits the danger zone.
Here’s the reality: meal prep only works if your food arrives exactly as it left your kitchen. That demands thermal integrity, smart compartmentalization, and rugged portability—all baked into one system. Guess what delivers that? A purpose-built meal prep bag tote.
How to Choose and Use Your Meal Prep Bag Tote Like a Pro
Forget trial and error. This isn’t about buying another accessory—it’s about engineering your daily nutrition chain from stove to desk.
Step 1: Match Capacity to Your Routine
If you prep for five days, don’t settle for a three-meal slot. But bigger isn’t better—overpacking kills insulation efficiency. Measure your actual container stack (height x width x depth) before swiping your card.
Step 2: Prioritize Insulation Depth Over Brand Hype
Real cold retention comes from thick PEVA or closed-cell foam—not flashy logos. Look for wall thickness of at least 6mm. Test it: if you can easily compress the side with your thumb, skip it.
Step 3: Demand Modularity
Your Tuesday might need two mains and a snack. Thursday? Just protein and greens. Removable dividers, adjustable straps, and dedicated ice pack sleeves make adaptation effortless—no repacking required.
| Feature | Budget Option (<$25) | Mid-Tier ($25–$50) | Premium Meal Prep Bag Tote (>$50) |
|---|---|---|---|
| Insulation Thickness | 2–3 mm | 4–5 mm | 6–10 mm |
| Cold Retention (with 2 ice packs) | 2–3 hours | 4–6 hours | 8+ hours |
| Compartment Flexibility | Fixed slots | 1–2 removable dividers | Fully customizable layout |
| Lifetime Warranty | No | Limited (90 days) | Yes (on insulation & zippers) |
The Industry Secret: Temperature Layering Beats Ice Packs Alone
Most meal preppers toss in one gel pack and call it a day. Big mistake. Pros use *temperature layering*: frozen meal components act as secondary chill sources. Example: freeze your overnight oats or soup—and place them adjacent to room-temp items like nuts or fruit. The frozen meal slowly thaws while shielding neighbors from ambient heat.
But this only works if your meal prep bag tote has rigid internal walls. Soft-sided flimsy bags let everything slump together—defeating the strategy. Rigid liners or reinforced base panels maintain structure, enabling true thermal zoning.
Think about it: your food isn’t just cargo. It’s a micro-ecosystem. Treat it like one.
FAQ
Can I put hot food directly into a meal prep bag tote?
No. Always cool food to room temp first. Sealing hot meals traps steam, breeds bacteria, and degrades insulation faster.
How often should I replace my meal prep bag tote?
Every 12–18 months with daily use. Watch for lingering odors, zipper stiffness, or reduced cold retention—signs the insulation is breaking down.
Are waterproof linings necessary?
Absolutely. Spills happen. PEVA or food-grade TPU linings prevent stains, odors, and mold growth in seams—critical for long-term hygiene.